

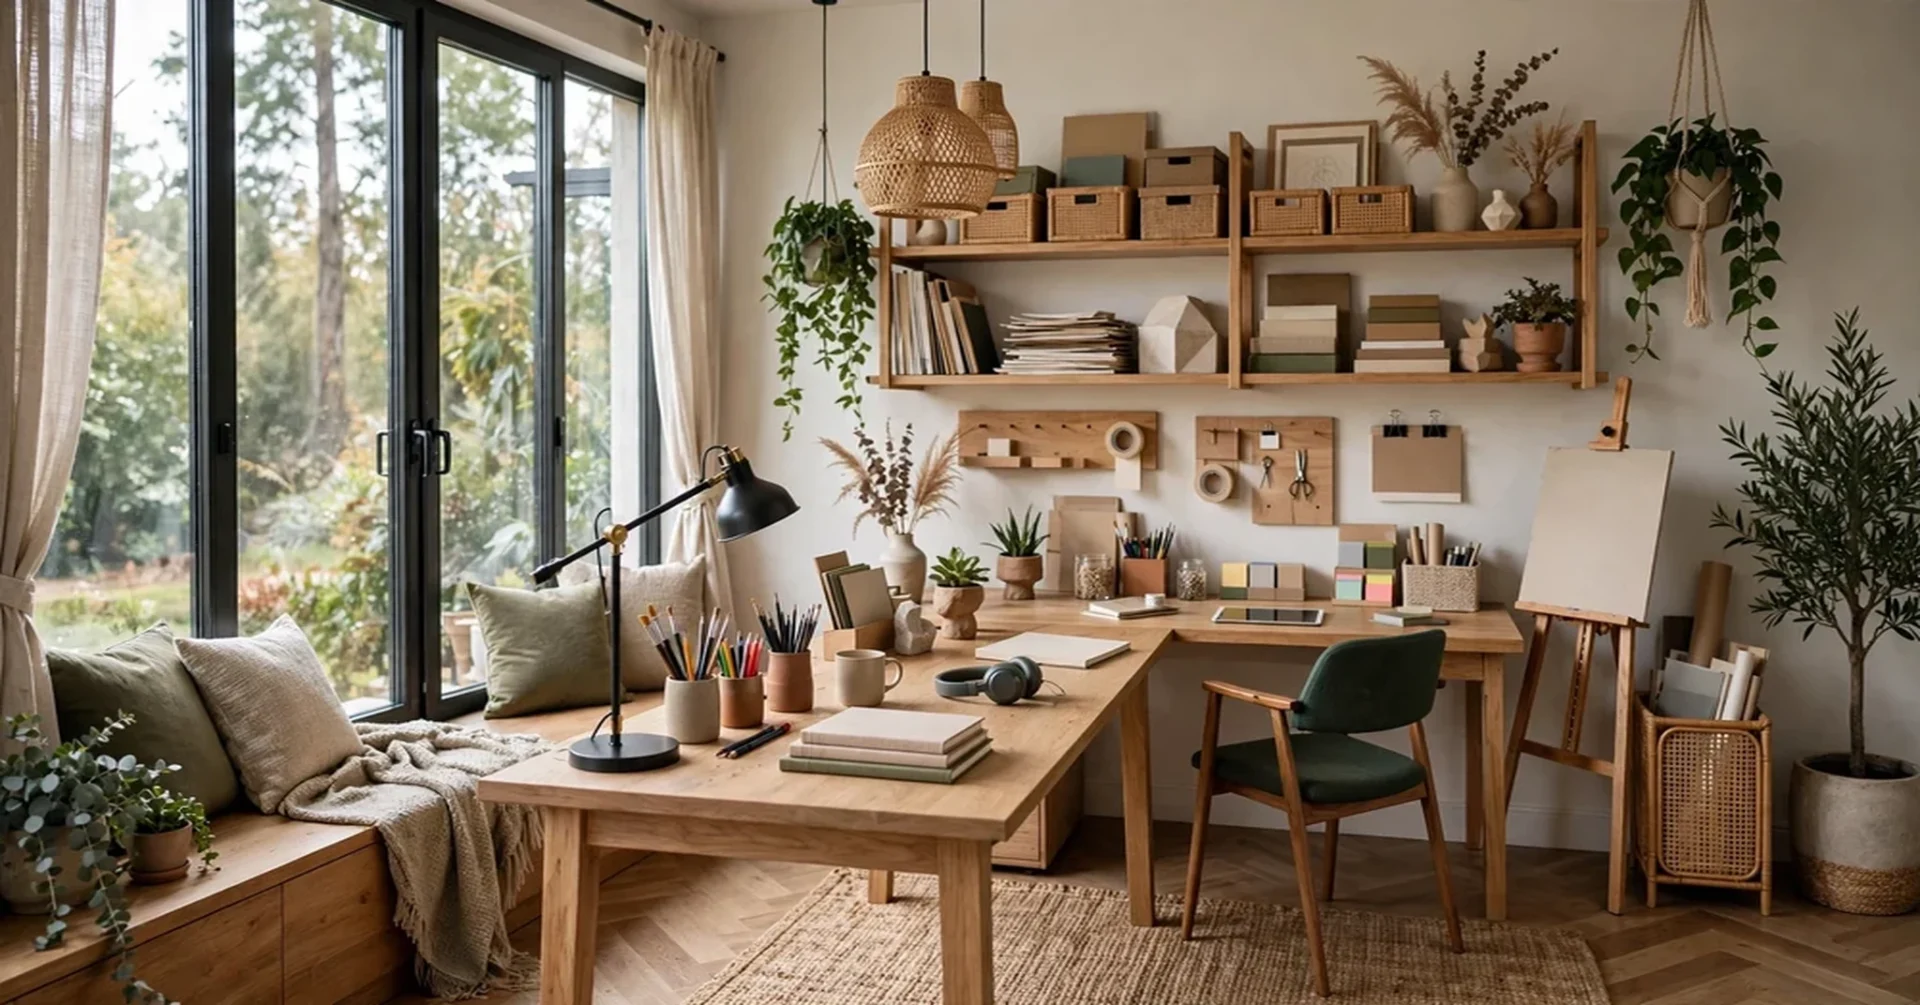
Imagine transforming any corner of your home into an inspiring study space that boosts productivity and creativity. Whether it’s a small nook or a spacious room, creating an effective study area can significantly enhance your work or study experience. In this article, we’ll explore 40–60 innovative ideas for crafting the perfect study room. We’ll cover everything from layouts and furniture choices to lighting and color palettes, all with a focus on practical and ergonomic design.
1. Use a Dedicated Wall-to-Wall Study Desk
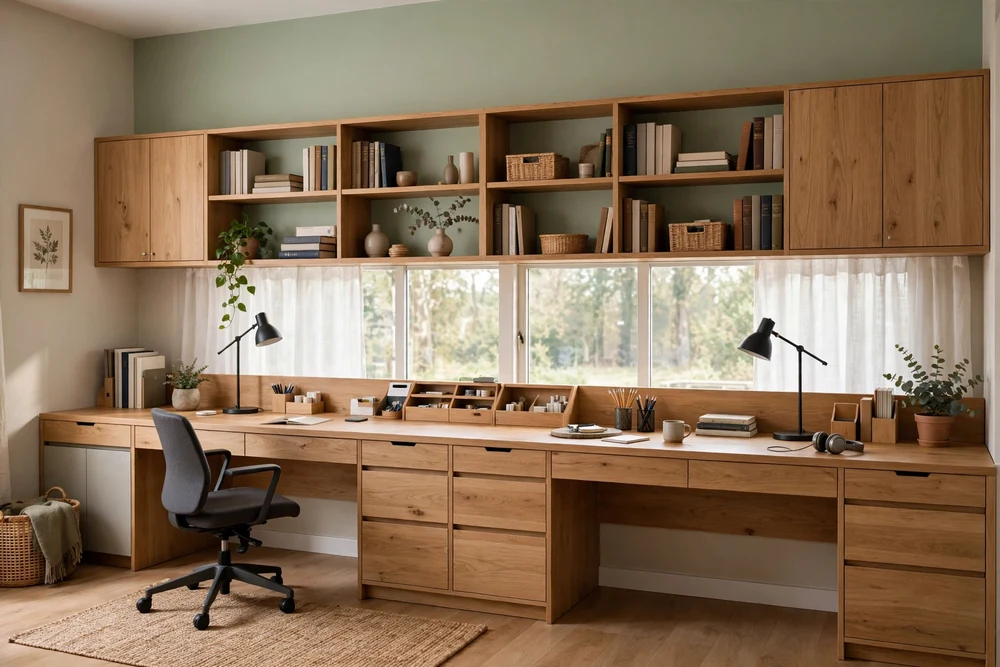
A wall-to-wall study desk can be a game changer. By maximizing workspace and storage options, it offers all the surface area you need for your computer, books, and shared projects. Think of it as an integral part of the room’s architecture, seamlessly blending in with the space. Choose materials like MDF, plywood, or wood countertops, and consider built-in drawers or cabinets for added storage. Remember to leave enough legroom and organize cables efficiently to keep the space tidy.
2. Create a Compact Study Nook
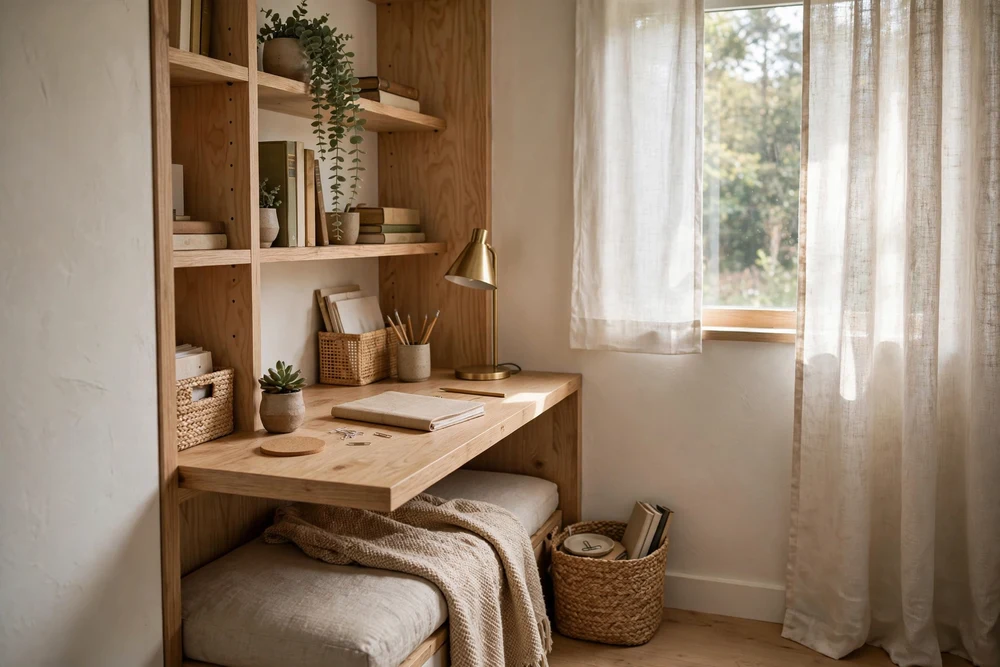
Even the smallest spaces can become efficient study areas with a bit of creativity. A compact study nook can fit into an unused corner, hallway end, or even a wide closet. Define this space visually using paint or wallpaper and a matching desk. Keep the design simple with a shallow desk and a compact chair, and make sure to measure clearance so the setup doesn’t obstruct any doors or pathways.
3. Place the Desk Perpendicular to a Window
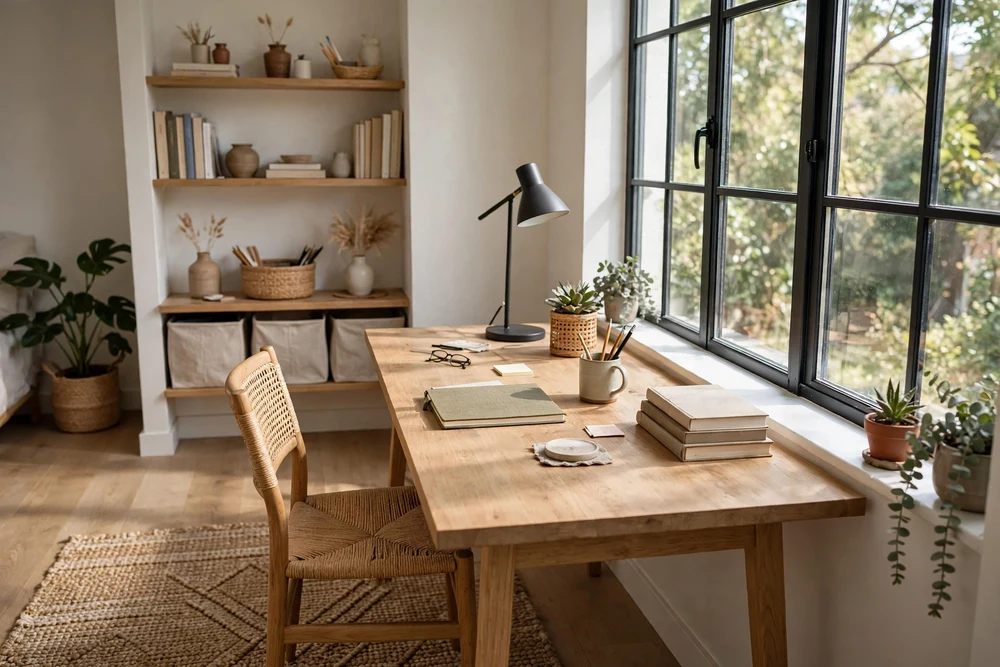
Positioning your desk perpendicular to a window can blend natural light into your study routine without overwhelming glare. This layout ensures reduced reflections on screens, promoting a comfortable working environment. Pair the space with adjustable curtains to modulate light as needed and keep the window to the side of your primary work surface for optimum results.
4. Use a Window-Facing Desk for Analog Study
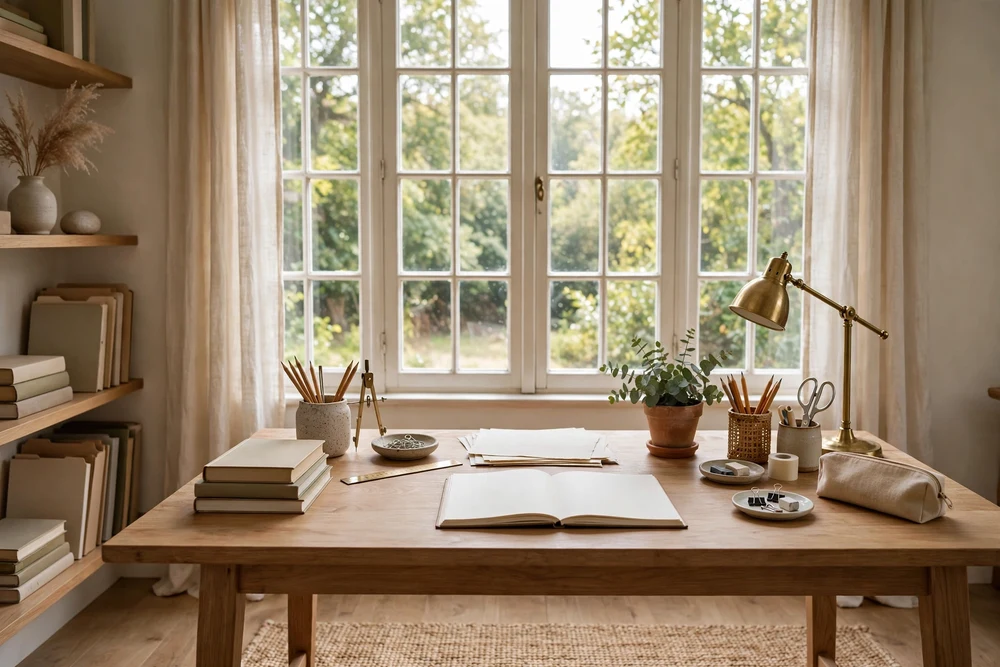
Sometimes, it’s refreshing to conduct study sessions away from screens. A window-facing desk offers a tranquil view and ample natural light for reading, writing, or sketching. Opt for a narrow minimal desk with simple accessories. Adjustable window treatments will let you control sunlight during peak hours, ensuring a pleasant setting throughout the day.
5. Design a Shared Study Room for Two People
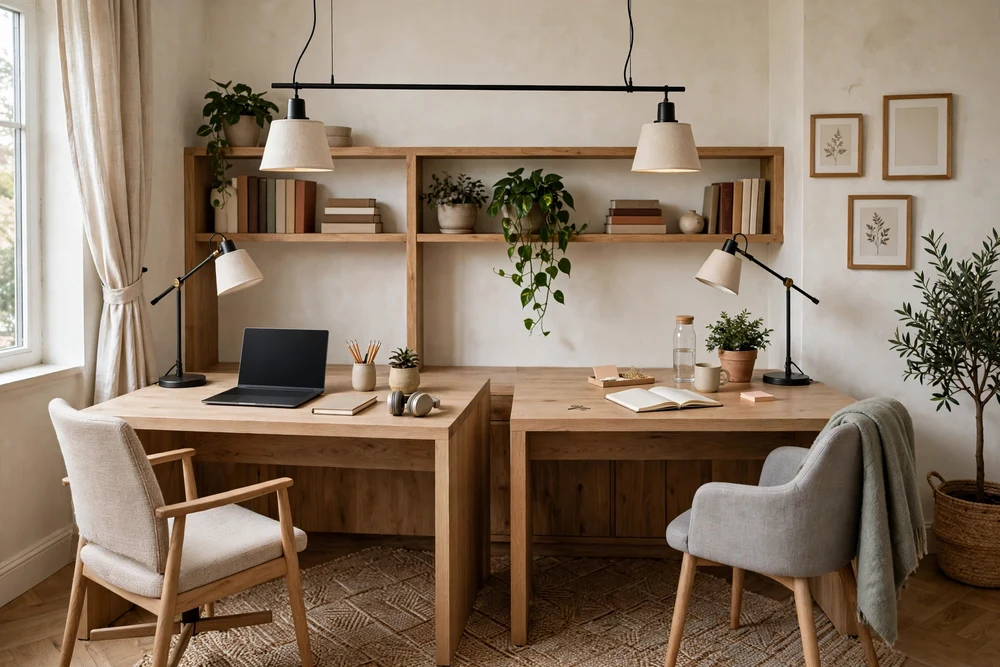
Sharing a study space? Designing a room for two can be simple with a few thoughtful adjustments. Create symmetry by setting up two matching desks with individual task lamps and storage solutions. Position the workstations to avoid screen glare, and ensure each person has dedicated power access and storage. This setup encourages collaborative work while maintaining personal space.
6. Add a Long Table for Collaborative Work
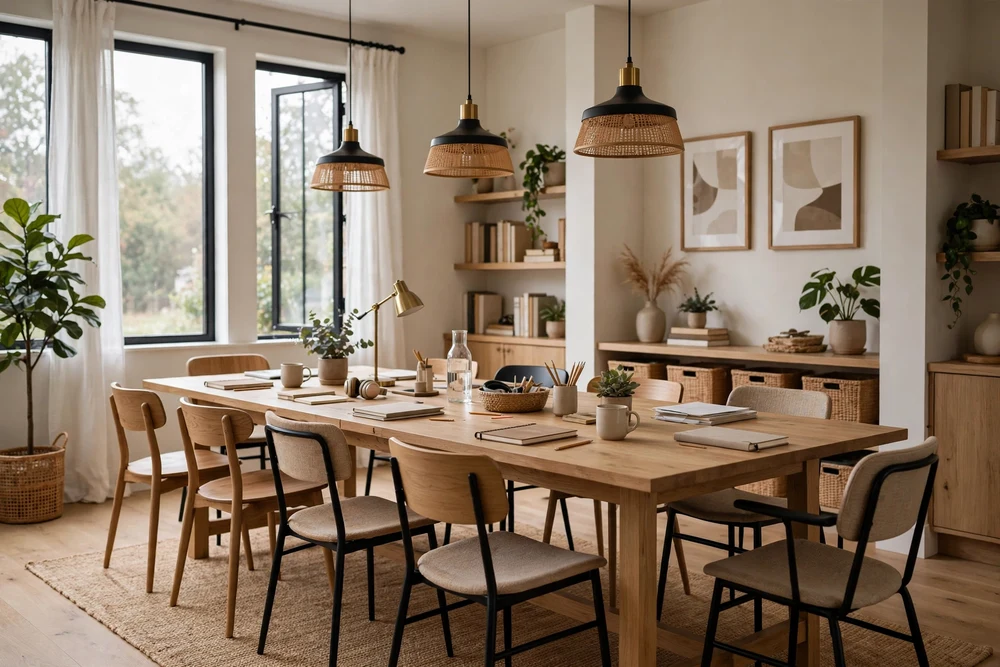
A long table in the middle of the room can be perfect for group study sessions or family projects. Unlike traditional desk setups, it’s versatile for various activities, from crafting to studying. Choose a sturdy top with supportive legs, and ensure there’s easy circulation around the table. Use cable management to keep any electronics organized and the area free from clutter.
7. Build a Study Room Around a Corner Desk
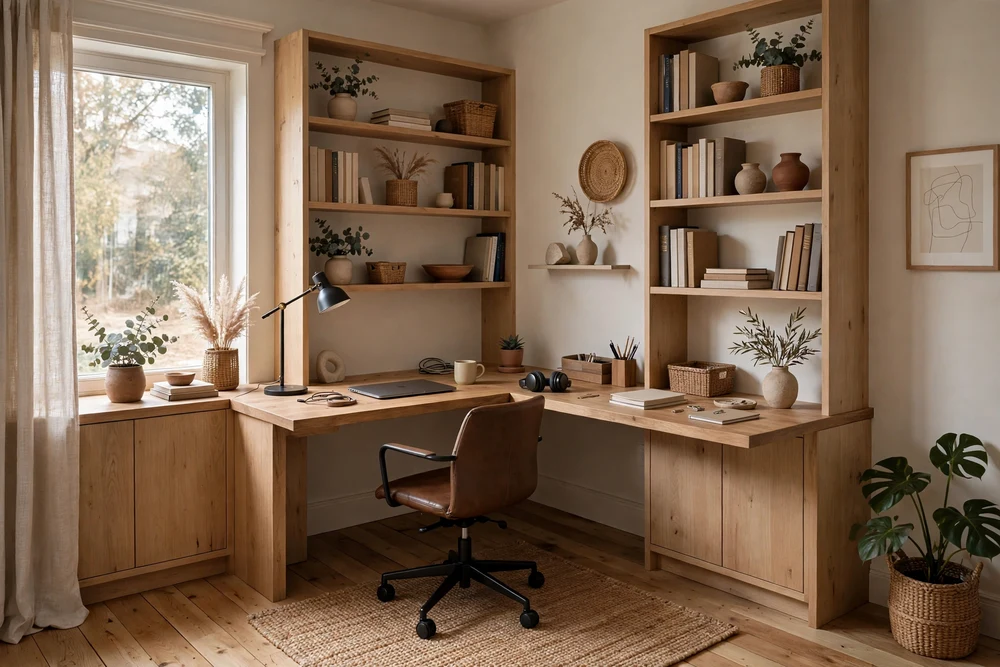
An L-shaped or corner desk maximizes space by utilizing two walls effectively. This setup is perfect for separating different tasks, like digital work and writing. Position your monitor on one surface and use the adjoining space for books or storage. Consider corner shelves, lamps, or monitor arms to avoid wasted space and maintain a streamlined design.
8. Use a Wall-Mounted Floating Desk
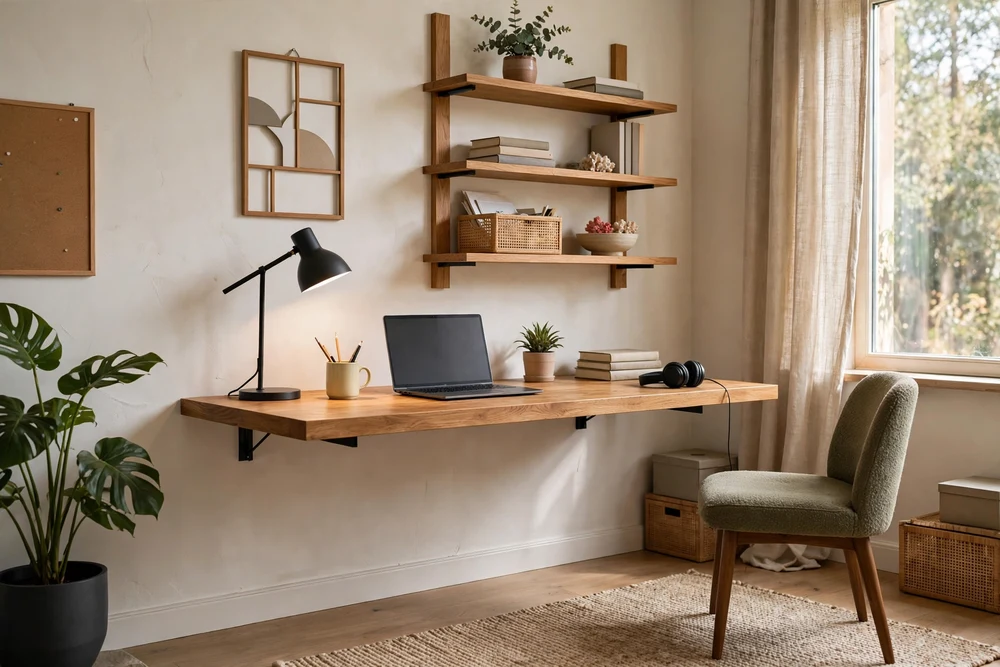
Floating desks are sleek and practical, especially in small rooms. They give an illusion of more space by keeping the floor clear. Use concealed brackets for support and choose durable materials like oak or plywood. Ensure your desk is securely mounted to the wall structure for safety and functionality.
9. Install a Fold-Down Study Desk
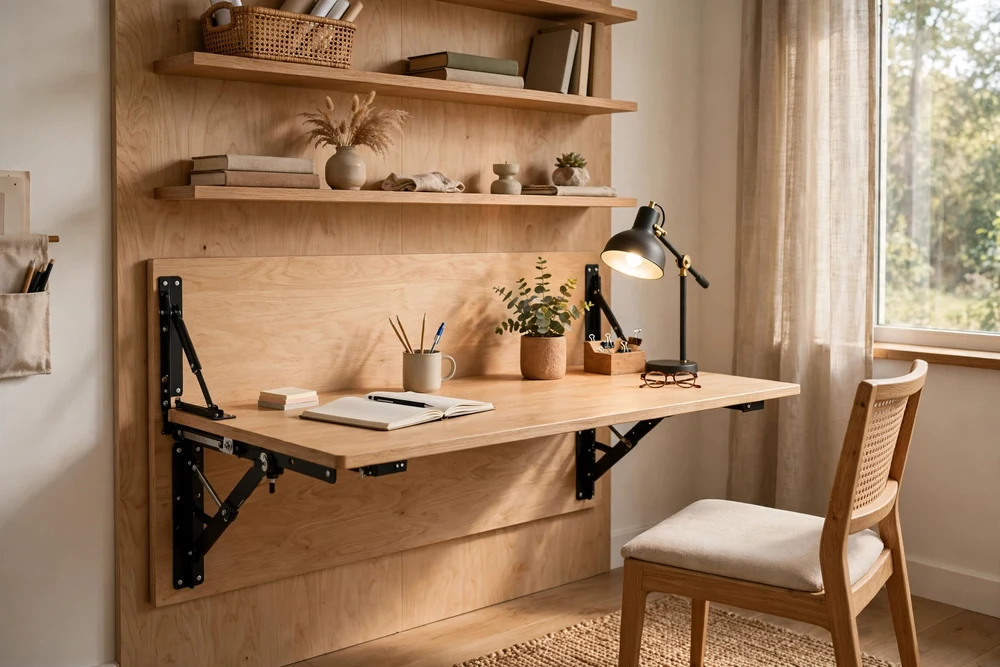
A fold-down study desk is brilliant for rooms that serve multiple purposes. When not in use, it can be tucked away like a compact cabinet. Decorate its interior with pegboards or shelves to store your essentials, making setup and cleanup a breeze. This design keeps your space flexible and efficient.
10. Convert a Closet into a Study Station
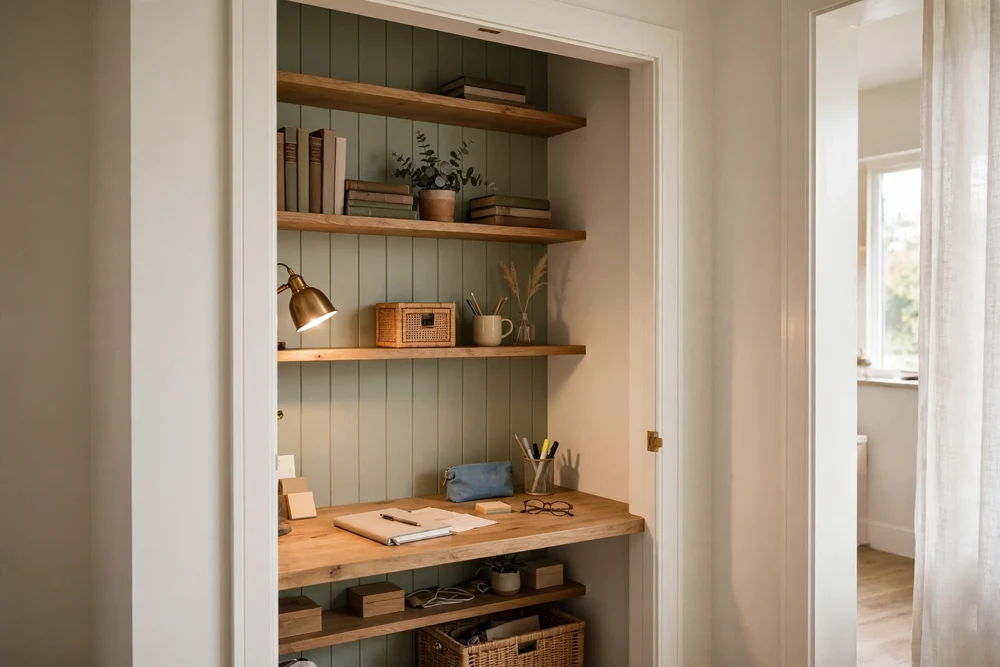
Transform a closet into a secluded study station by removing or opening the doors. Install a desktop between the side panels and add shelves above for storage. Light the area with LEDs for better visibility, and consider adding a curtain for privacy. Just make sure not to block any necessary ventilation outlets.
11. Use a Built-In Window-Seat Desk
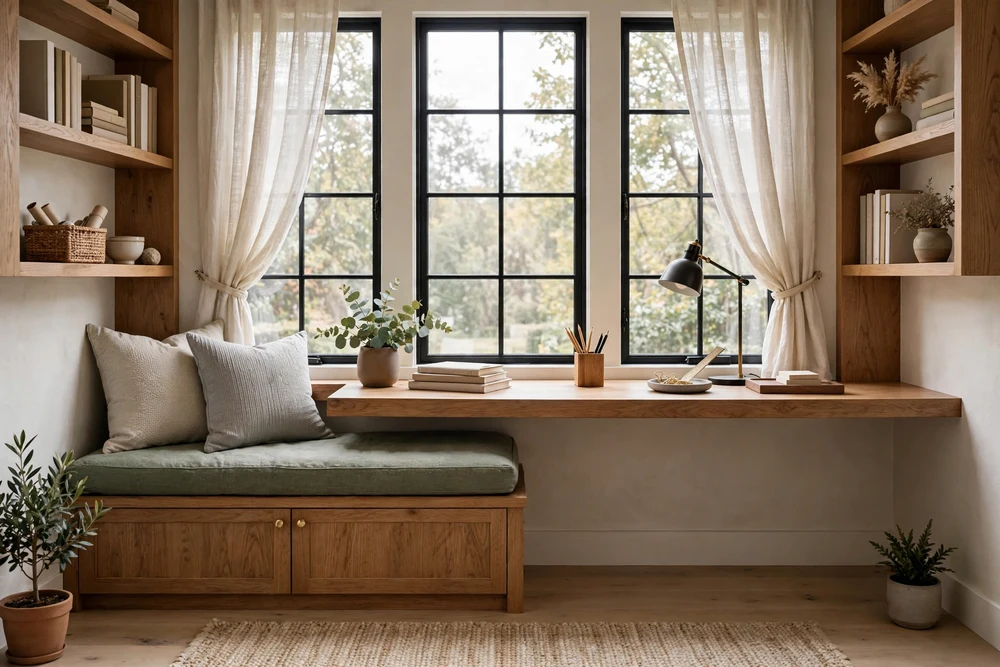
A window seat can double as a cozy desk area with a view. Include a cushioned bench for comfort and drawers for additional storage. The view alone can inspire creativity, but don’t forget to control glare on screens with appropriate window treatments.
12. Add a Reading Chair Beside the Desk
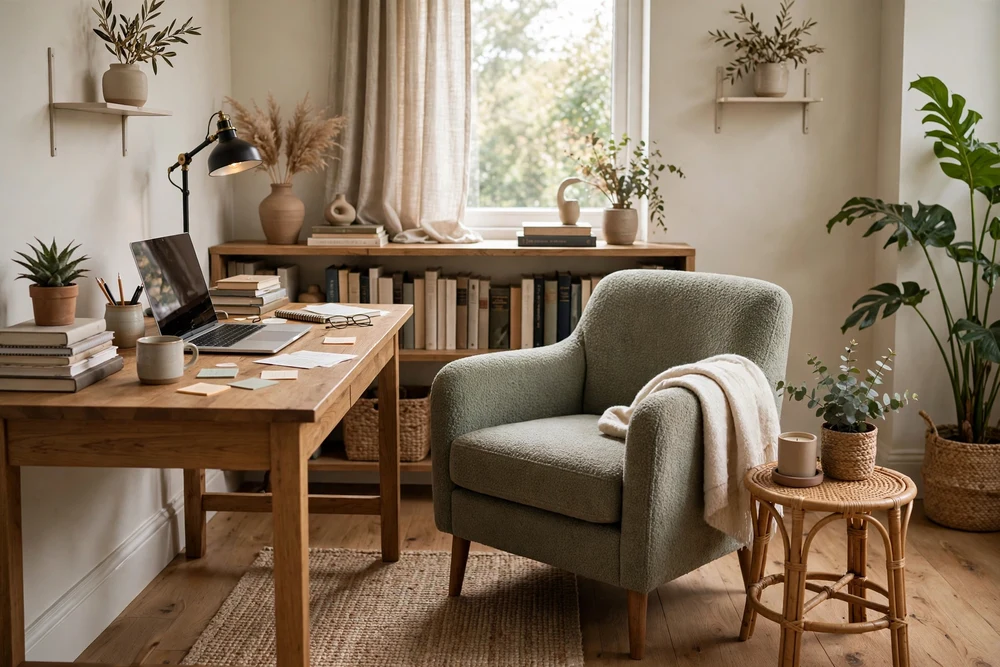
Enhance your study room with a secondary seating option. A comfy reading chair next to the desk can create a perfect zone for reading breaks. Pair it with a floor lamp and a small side table to foster a complete reading nook that complements your main workstation.
13. Choose an Ergonomic Adjustable Chair
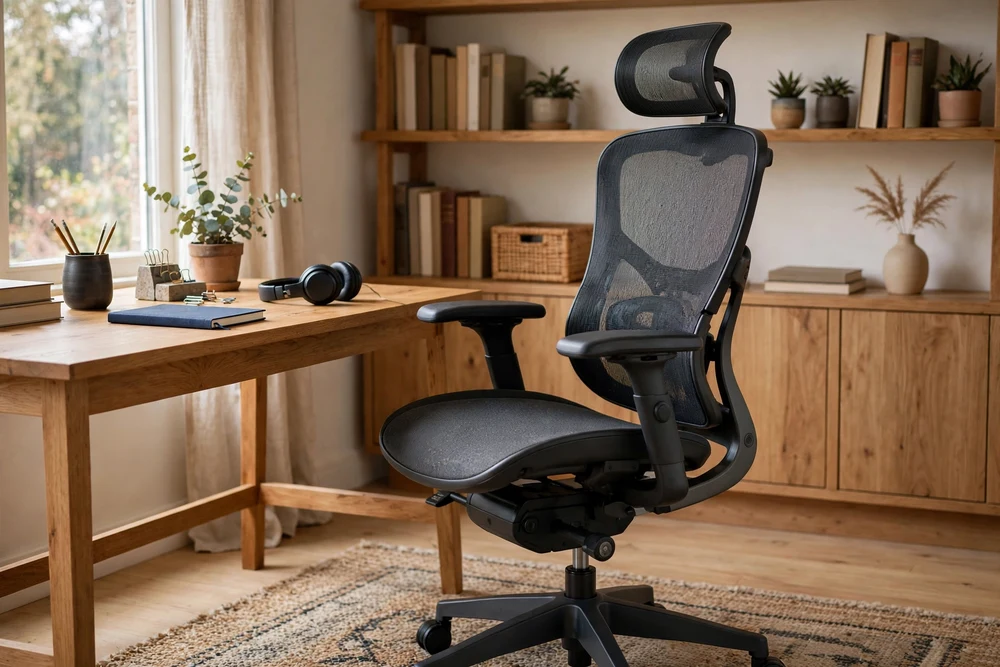
A comfortable chair is central to any good study environment. Ergonomic, adjustable chairs support healthy posture during long study sessions. Choose a chair that matches the room’s aesthetic and check features like seat height, back support, and armrests to ensure comfort.
14. Use a Sit-Stand Desk
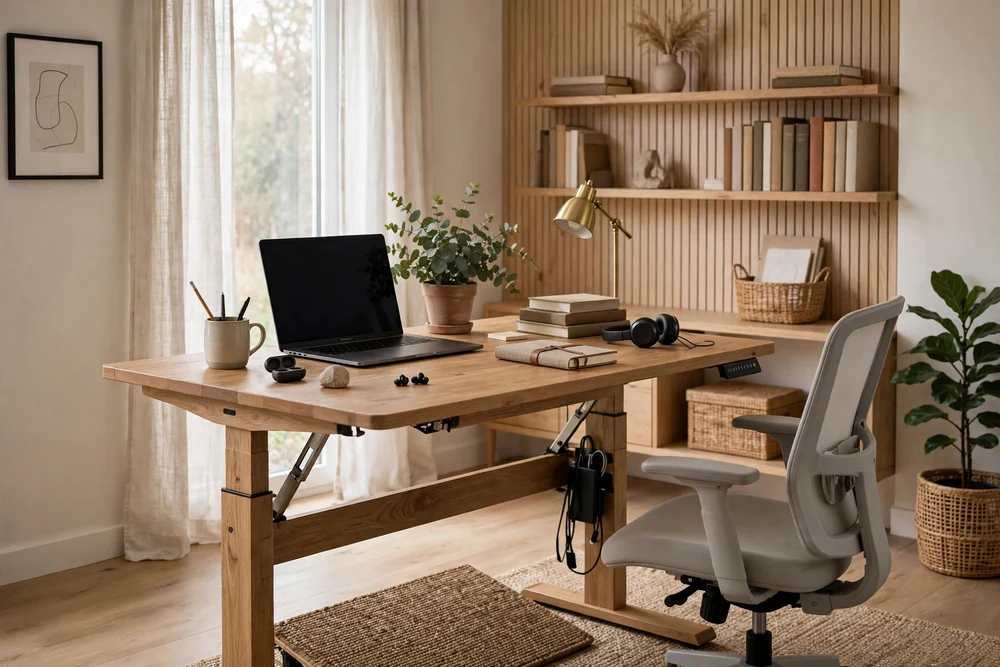
For flexibility, consider a sit-stand desk. This allows you to shift between sitting and standing, which can be beneficial for concentration and physical health. Ensure that all equipment works at both desk heights, and keep a calm room design so the adjustable desk remains the focus.
15. Add a Monitor Riser or Adjustable Arm
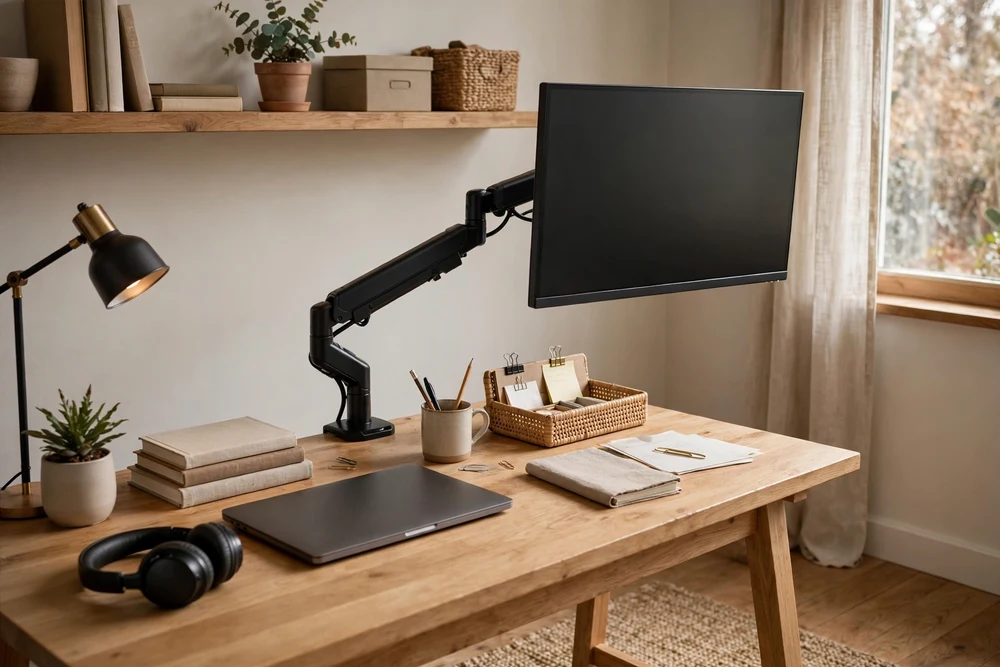
Elevate your monitor to improve ergonomic alignment. This can also free up valuable desk space. Use a riser that complements the desk’s color tones or an adjustable arm for flexibility. Position screens at or just below eye level for the best results.
16. Create a Paper-and-Pencil Study Zone
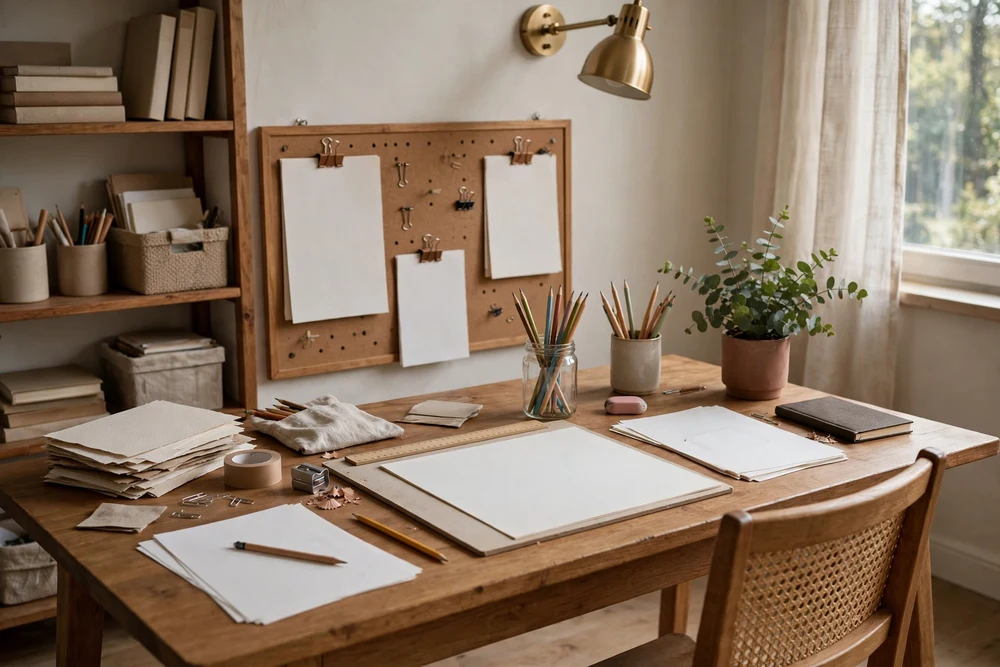
Encourage analog study by designating a computer-free desk. This area can be geared for handwriting, drawing, or reading. Use a large matte desk with brighter task lighting tailored for paperwork. Keep tech gadgets docked elsewhere to minimize distractions.
17. Use a Library Wall
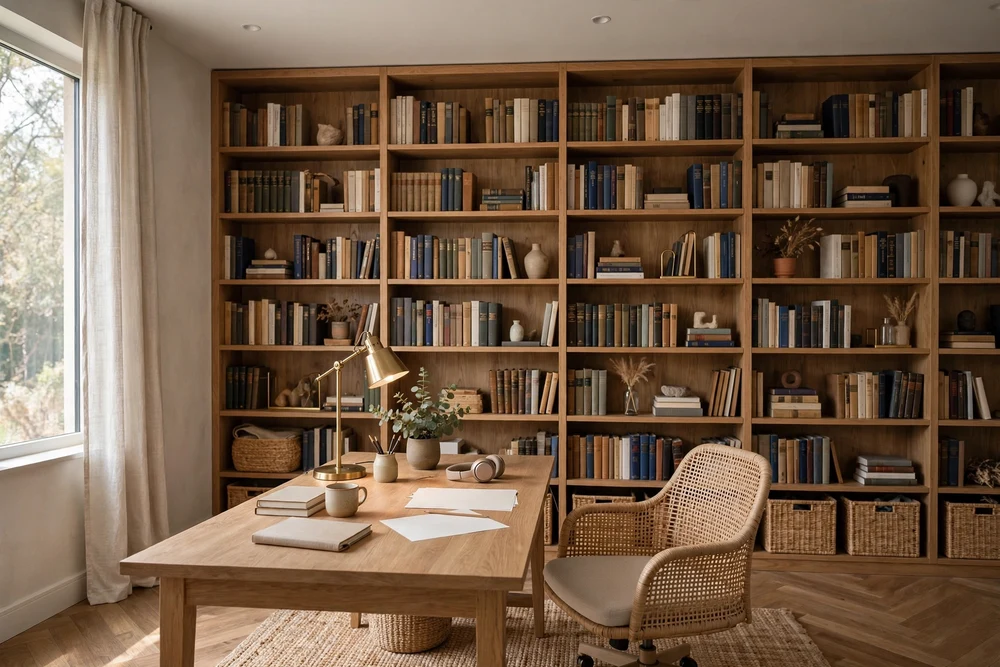
A library wall with floor-to-ceiling shelves turns your collection of books into an architectural feature. Either blend the shelves with the wall color or choose a contrasting natural wood for a standout effect. Remember to leave some spaces open on the shelves to prevent visual overload.
18. Install Adjustable Wall Shelves
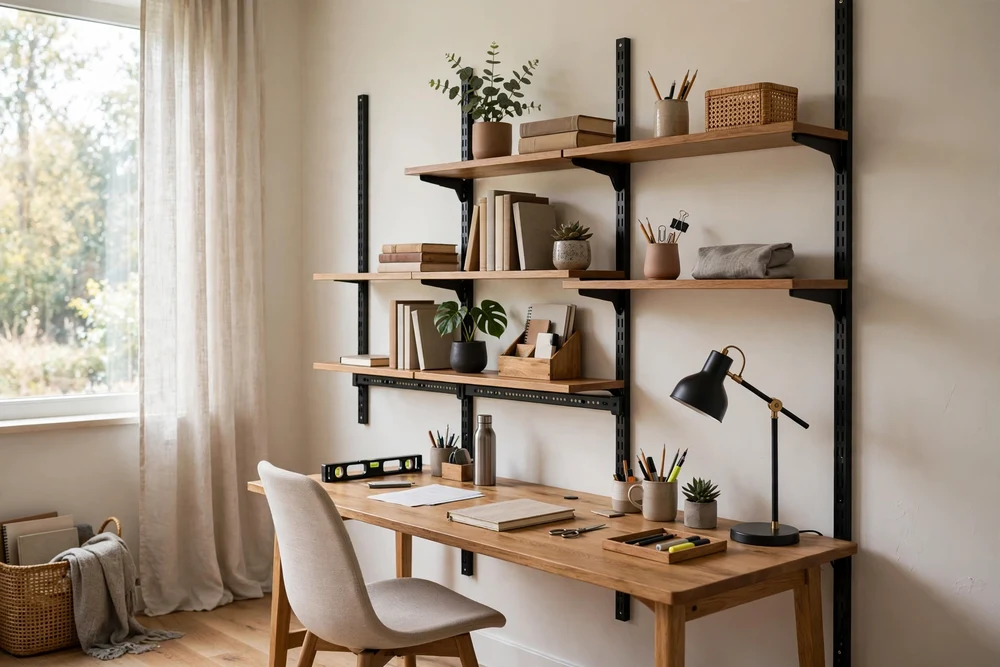
Wall shelves that can adjust to your needs offer an adaptable storage solution. A modular rail system makes it easy to reorganize based on changing requirements. Secure heavy items across different supports to maintain balance and neatness.
19. Combine Open Shelves with Closed Cabinets
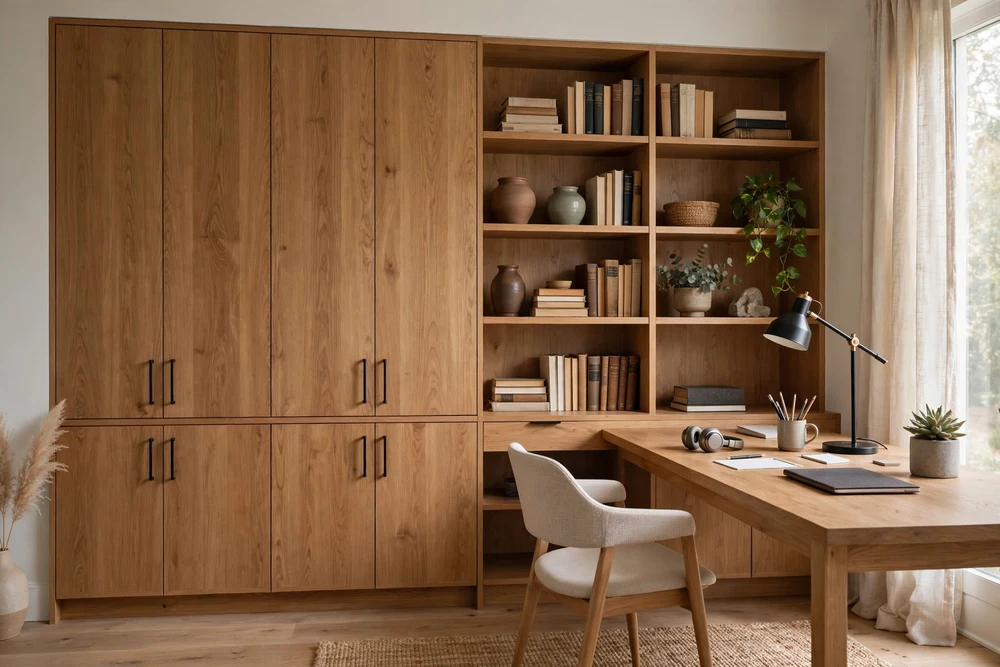
Balance accessibility and concealment with a mix of open shelves and closed cabinets. Keep frequently used items visible and store away clutter to maintain a tidy environment. Style them with paired materials, such as white oak shelves and dark cabinets for contrast.
20. Use a Pegboard Organization Wall
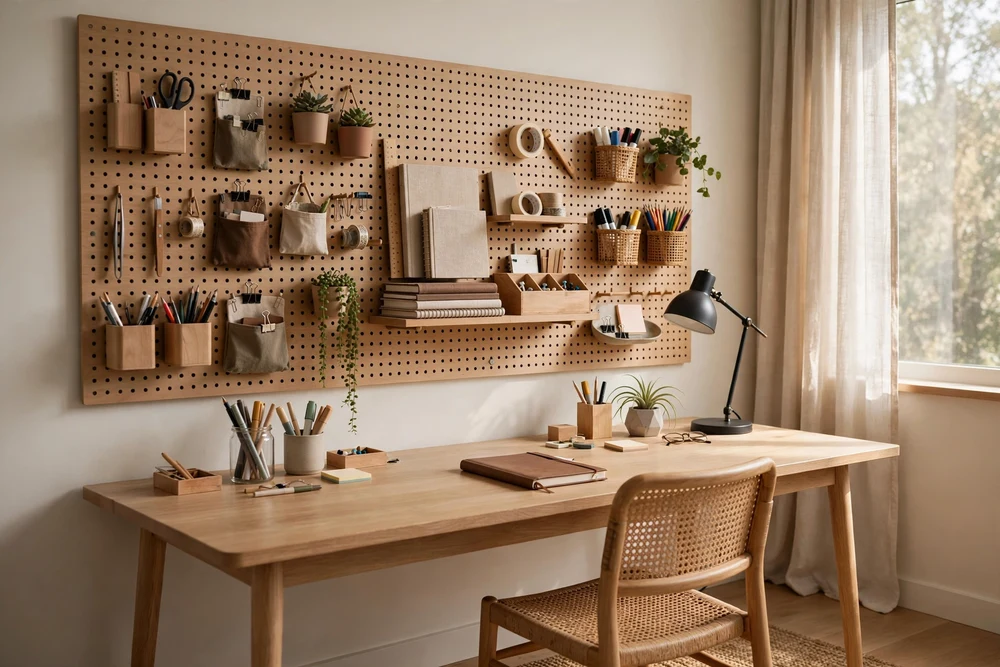
A pegboard is an efficient way to organize tools and supplies without consuming desk space. It also acts as a dynamic visual element. Arrange your items based on usage frequency and make room for future necessities.
21. Add a Rolling Storage Cart
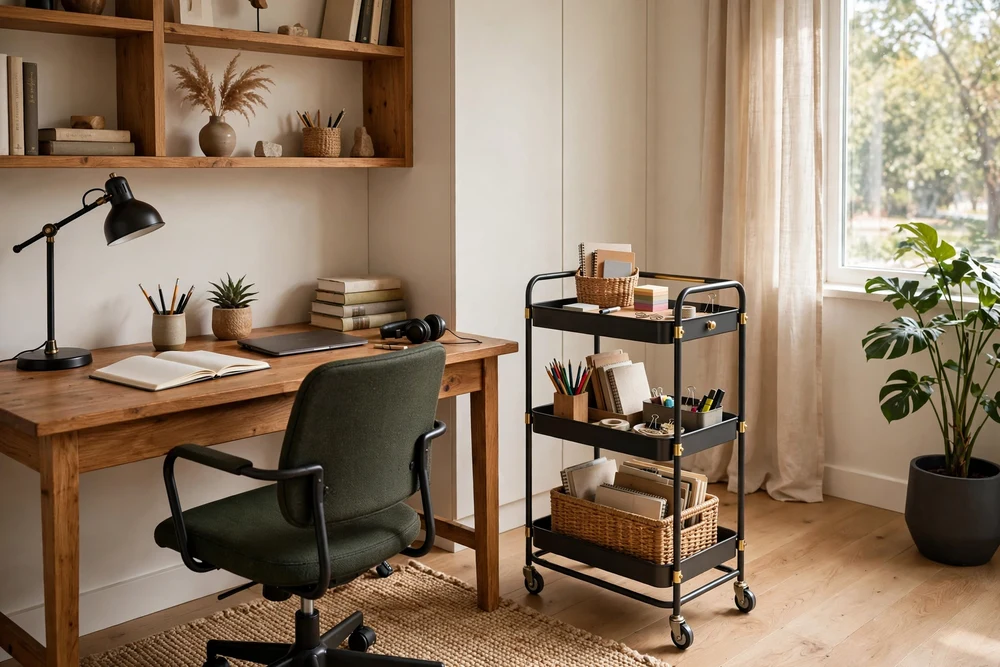
A mobile storage cart offers flexible utility by moving between different activity zones. Select a cart that suits your desired aesthetic, whether industrial, wooden, or brightly colored. Ensure it rolls smoothly and fits neatly into your space when necessary.
22. Use Under-Desk Drawers
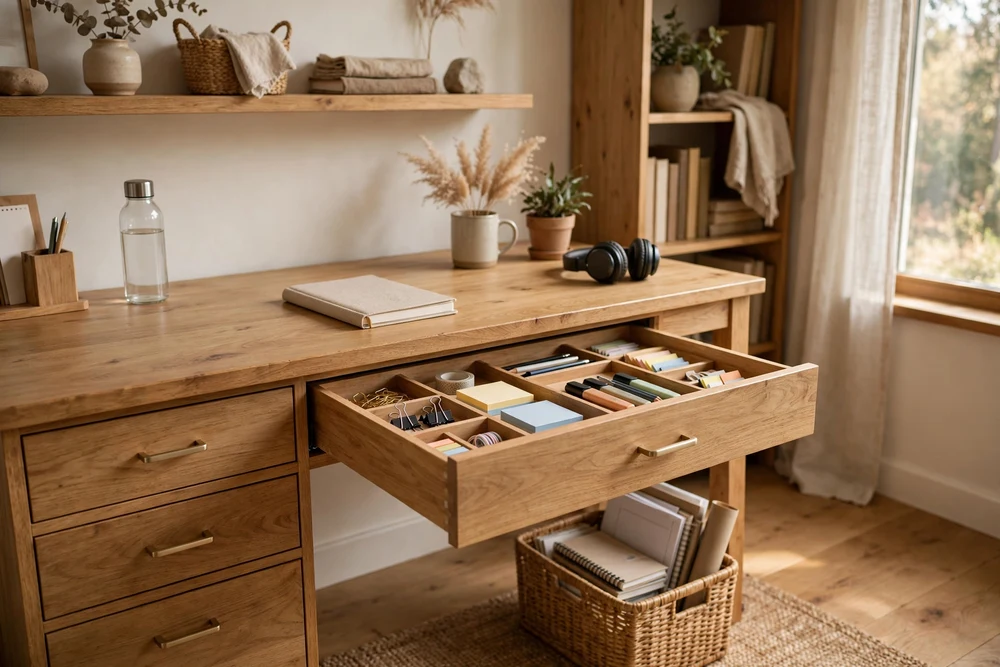
Under-desk storage provides easy access to essentials while maintaining an uncluttered workspace. Opt for integrated drawers or mobile pedestals that match your desk aesthetics. Remember to preserve enough leg room and avoid any interference with chair movement.
23. Install a Cable-Management Channel
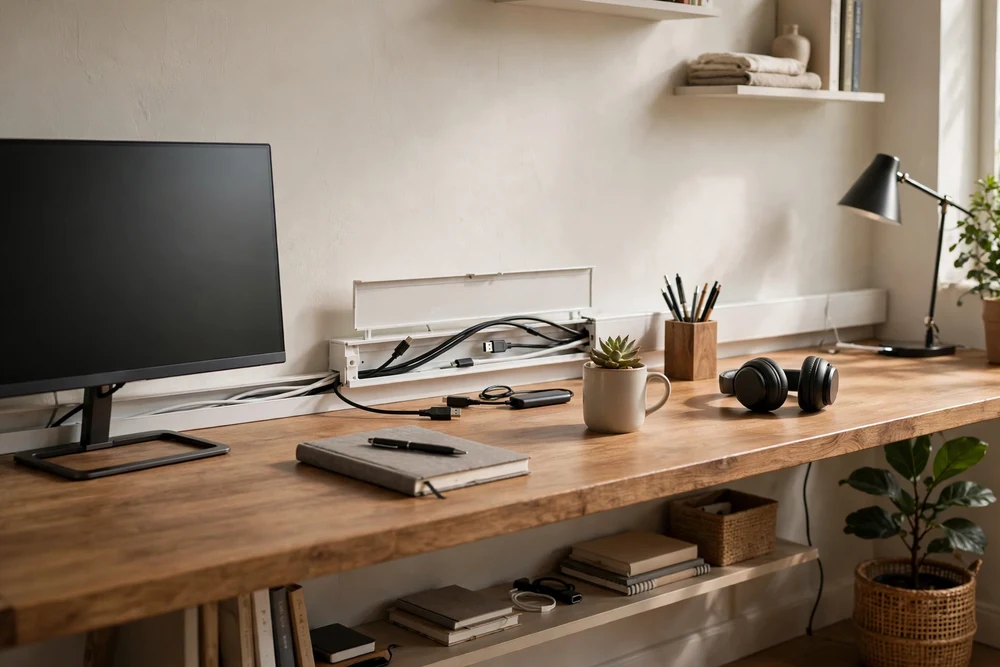
A well-organized workspace stays clean and efficient, thanks to concealed cables. Route your cords via channels or trays to keep them tidy and easily accessible. Proper labeling and leaving enough slack for adjustments are crucial.
24. Create a Charging Drawer
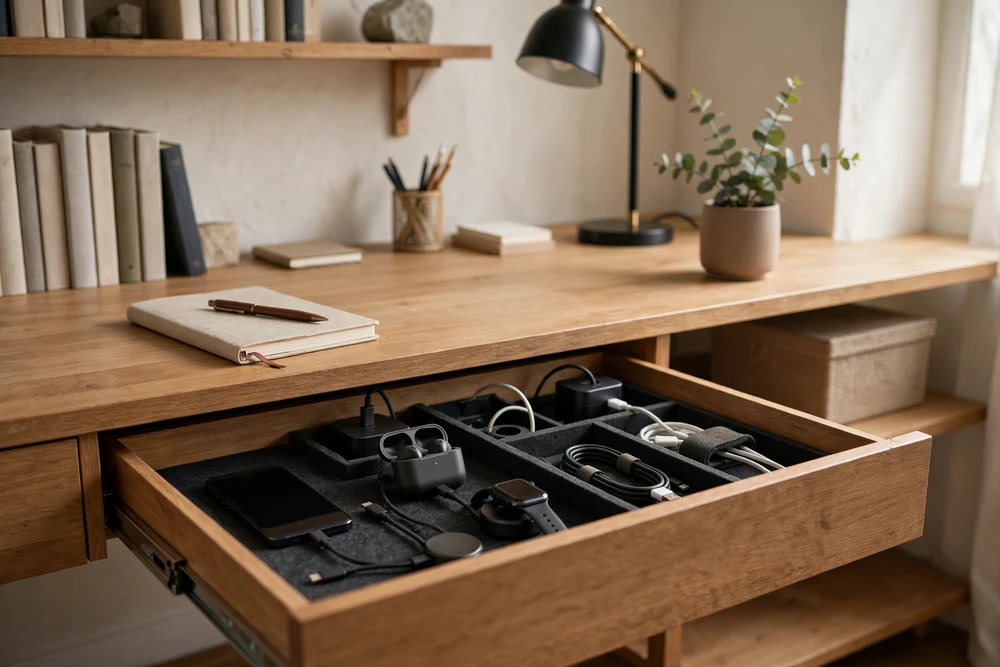
A charging drawer can keep your devices powered and out of sight. Use a ventilated drawer equipped with a power strip, and avoid cramming cords which can lead to overheating. This discreet setup helps manage clutter efficiently.
25. Add a Dedicated Printer Station
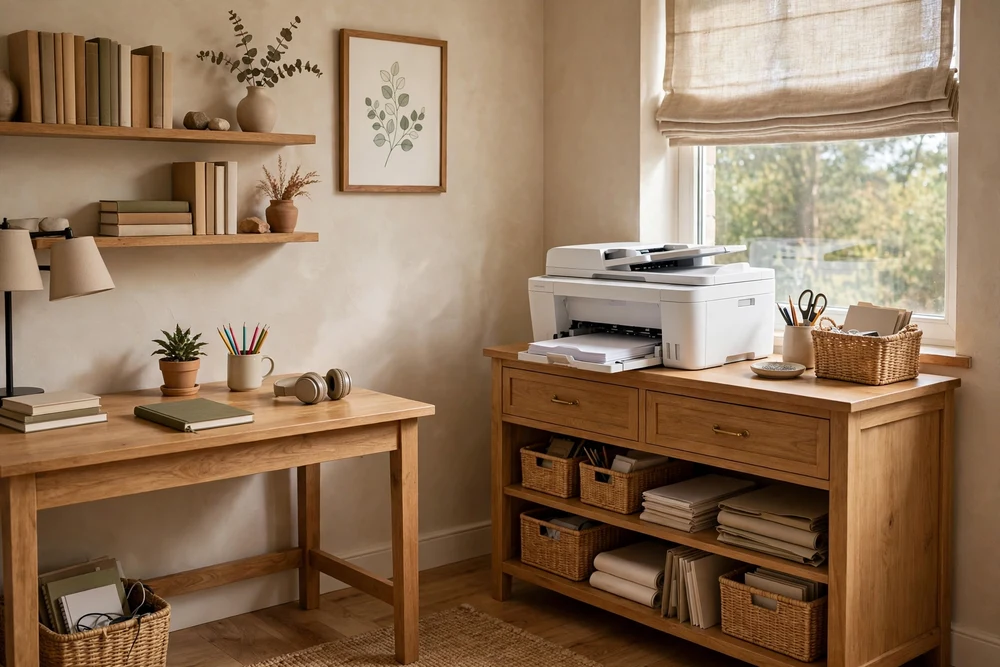
A separate printer station will free up valuable desk space and streamline office tasks. Place your printer in a side cabinet or use a rolling cart with storage for printing supplies. Make sure there’s adequate ventilation around the machine to avoid heat build-up.
26. Use a Corkboard for Flexible Planning

A corkboard offers an adaptable surface for pinning schedules, notes, and inspiration. Use it as a framed decorative piece or stretch it across a wall for comprehensive planning. Update it frequently to keep your plans organized and current.
27. Install a Magnetic Planning Board
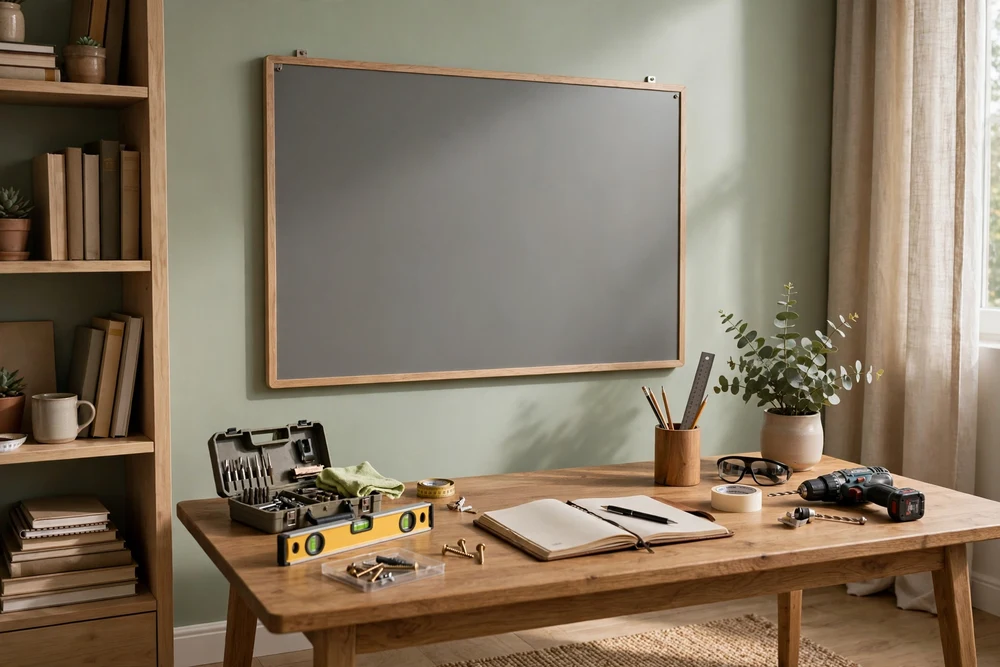
A magnetic board provides a sleek and versatile platform for organizing tasks and reminders. Whether it’s steel or painted magnetic surfaces, it can accommodate a variety of uses. Employ different magnets and zones to keep tasks well-defined and orderly.
28. Use a Chalkboard or Dry-Erase Wall
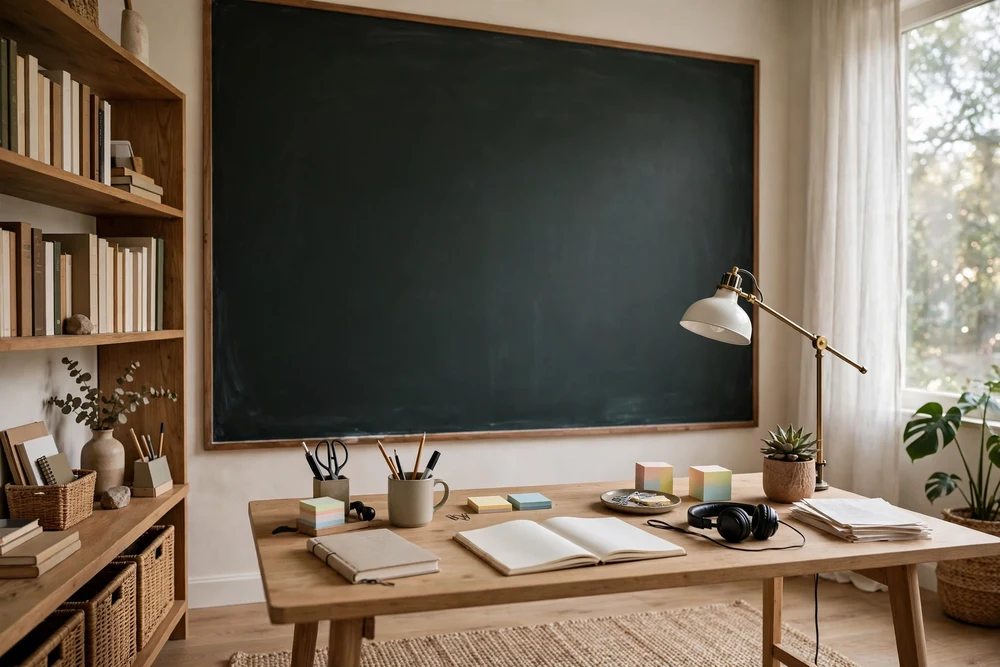
Transform a wall into an interactive resource with chalkboard or dry-erase paint. It supports brainstorming and planning through easy access to writable space. Add a container nearby for storing writing tools to keep everything in reach.
29. Use Layered Lighting
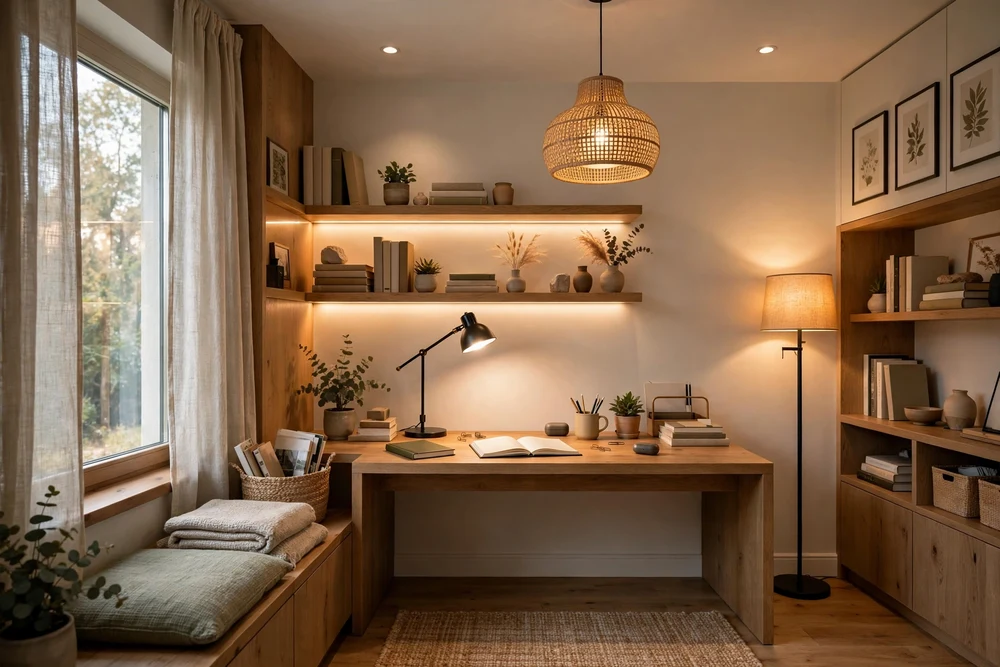
To achieve a well-lit study room, incorporate layered lighting. Use a ceiling fixture for general ambiance, a desk lamp for task details, and wall or accent lights for atmosphere. Selecting dimmable and adjustable options will help in creating the perfect lighting mood.
30. Add Under-Shelf Task Lighting
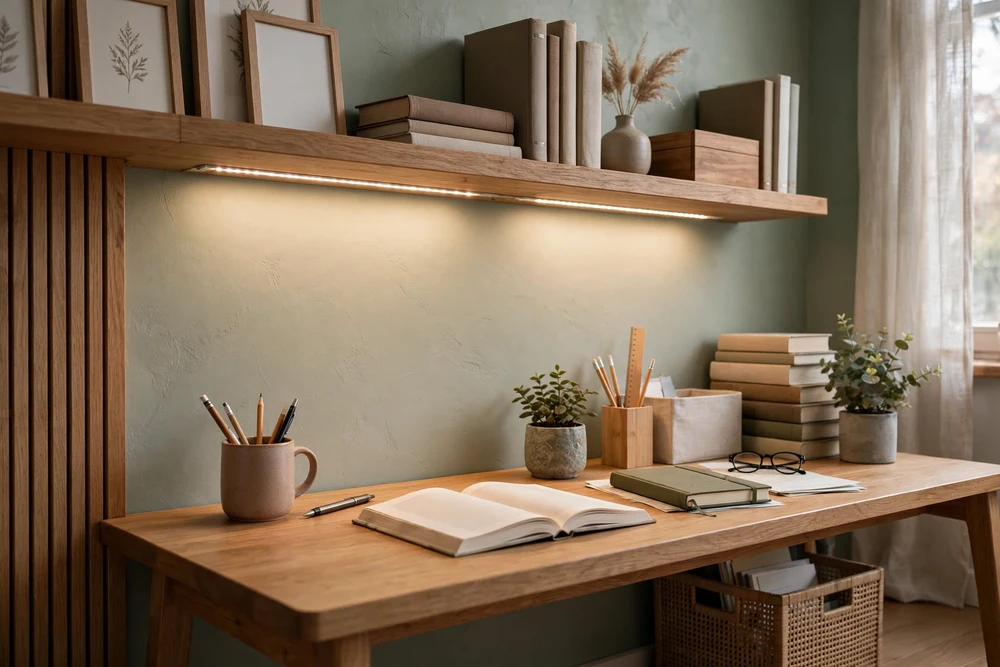
LED strips under a shelf provide focused task lighting without occupying desk space. Conceal these strips for a seamless look and ensure they’re placed where they’ll provide the most utility without causing harsh shadows or glare.
31. Use a Shaded Desk Lamp
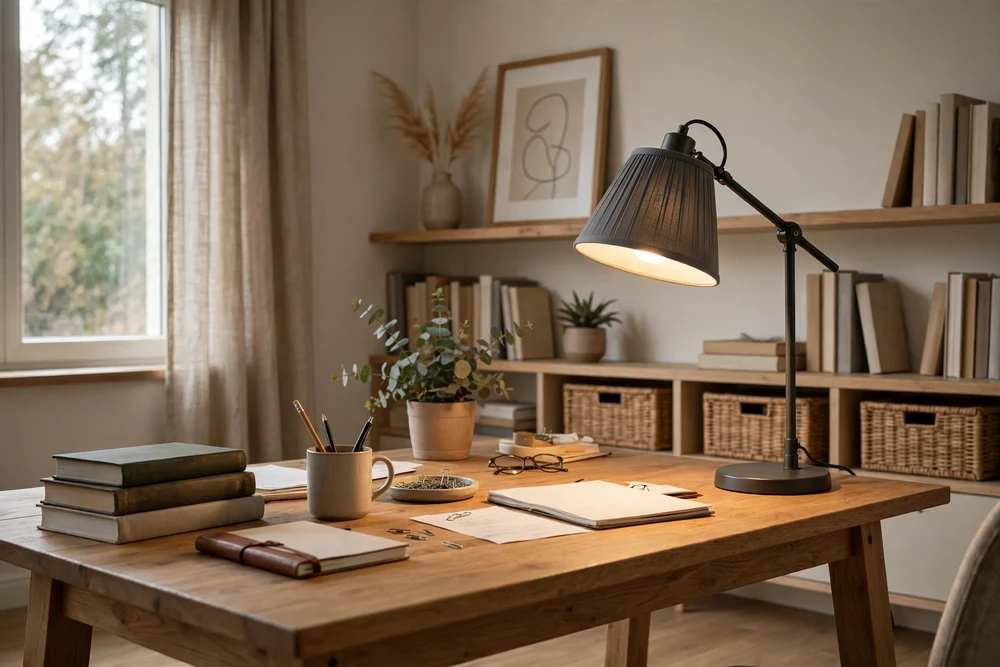
A desk lamp with a shade can focus light on your work without causing eye strain. Choose a design that fits your room’s aesthetic, offering both style and function. Position the lamp to avoid reflections in computer screens for a more pleasant light distribution.
32. Add Adjustable Window Treatments
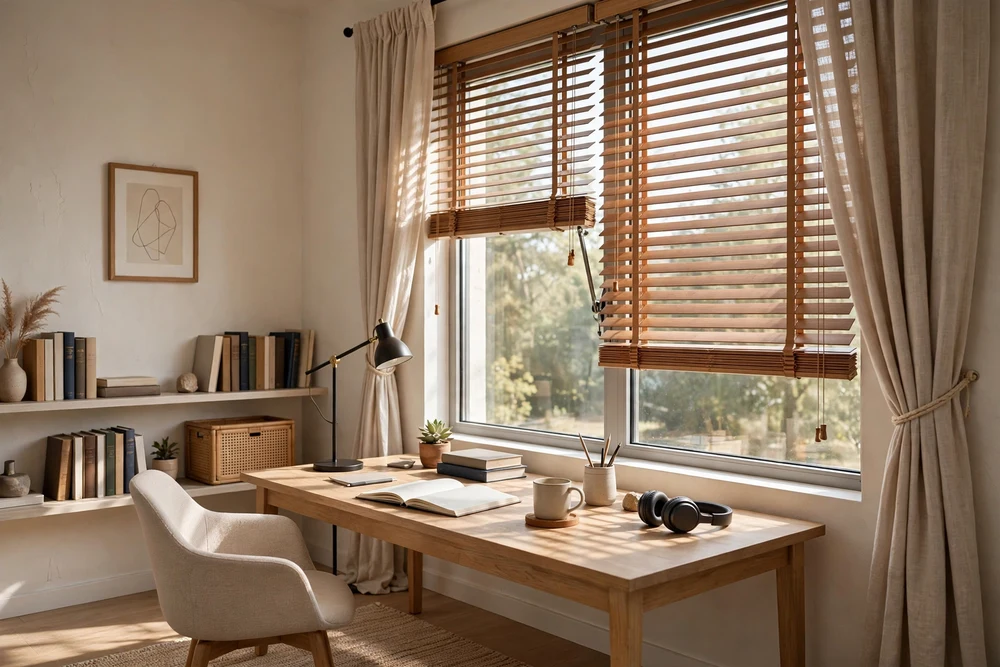
Blinds, shades, or curtains let you control daylight effectively. Layer practical blinds with decorative curtains to balance function and aesthetics. This flexibility is key to adapting light levels for different tasks.
33. Use Matte Finishes Around Screens
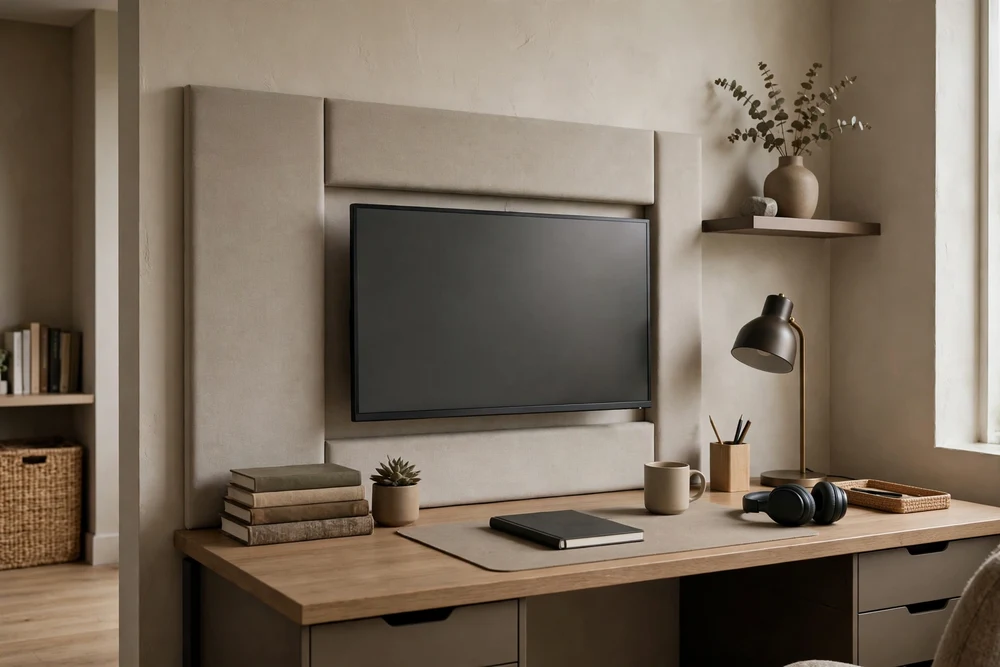
Matte finishes on walls and furniture minimize reflections, reducing distractions. Avoid placing any glossy surfaces near screens to maintain focus and comfort. Stick to eggshell or matte paints and select low-sheen woods for your furniture.
34. Choose a Warm Neutral Palette
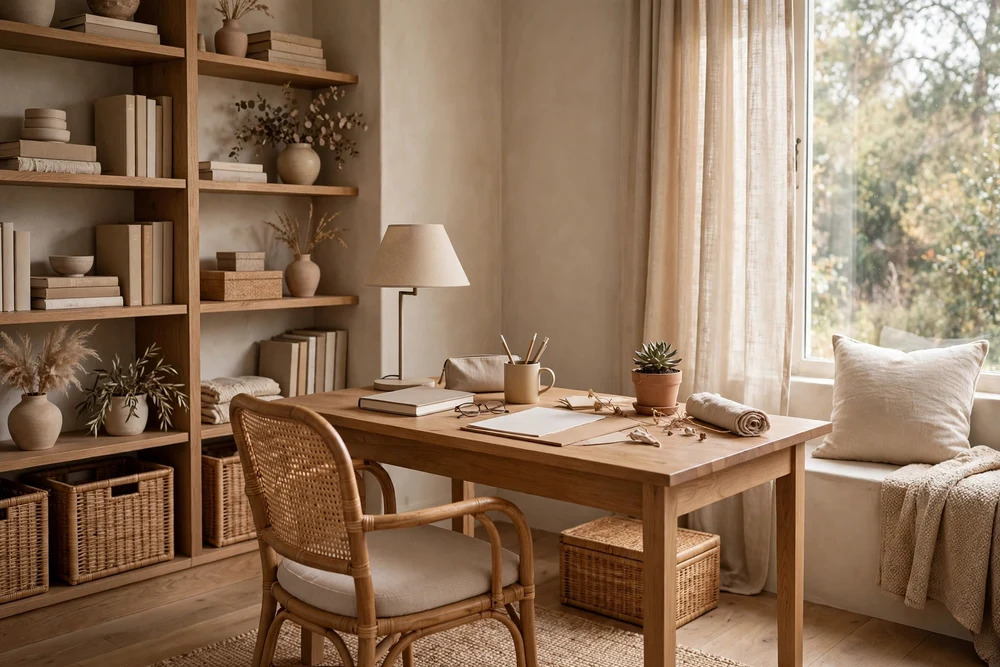
Warm neutrals create a calming study environment. Combine tones like warm white, taupe, or soft beige with varied textures to add depth. This soothing backdrop is conducive to concentration and complements any accents you might add.
35. Use Blue or Green as an Accent
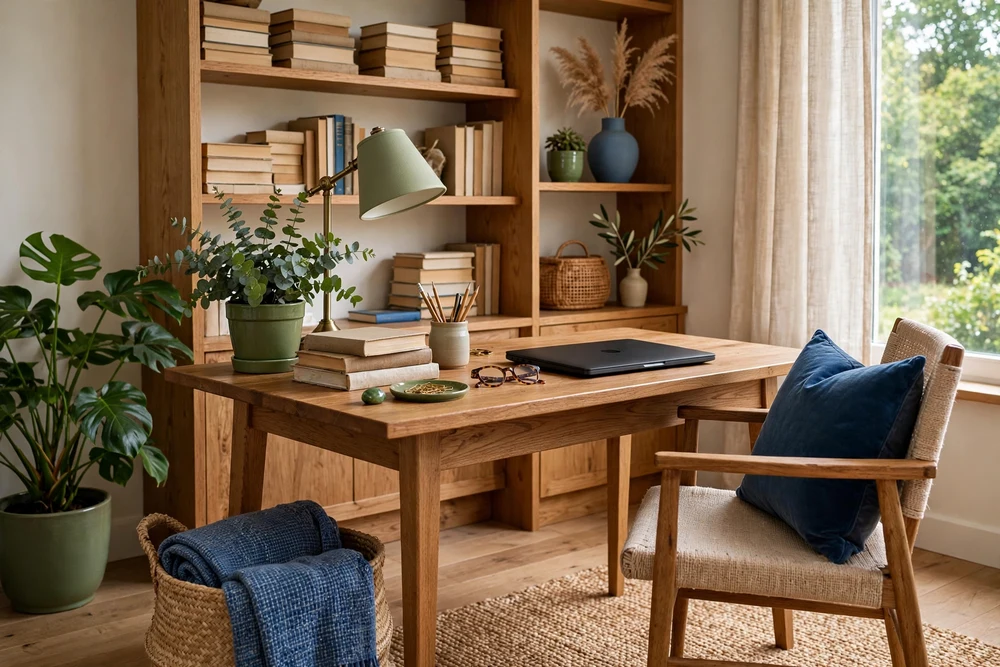
Introduce calming blues or greens as accent colors. These nature-inspired shades support a peaceful atmosphere. Apply them to specific elements like walls, chairs, or cabinets to energize the space without overwhelming it.
36. Add a Dark Accent Wall Behind Shelving
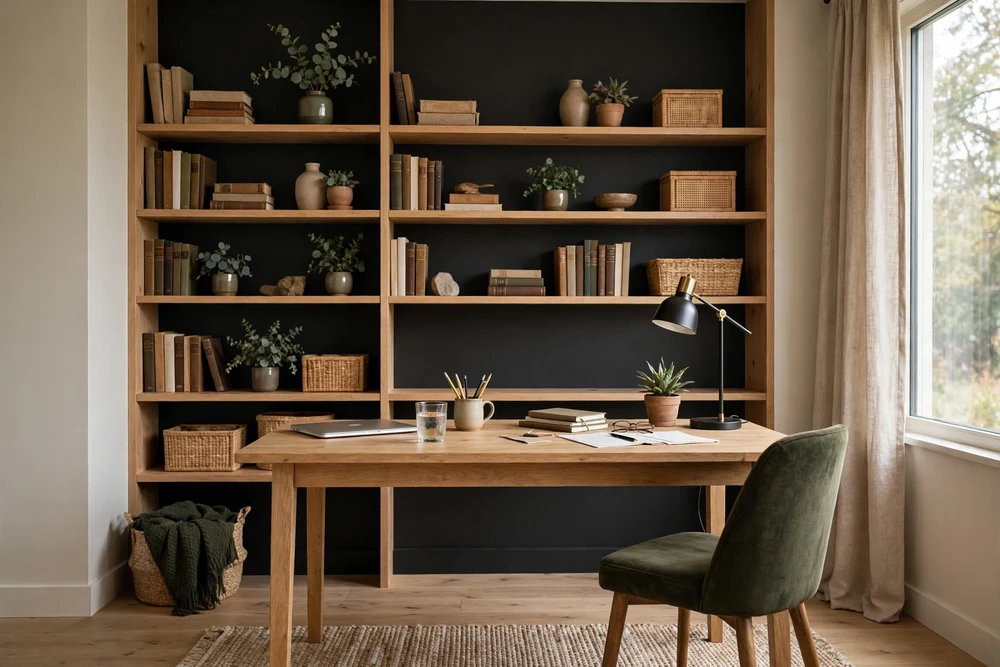
A dark accent wall can add drama and focus to your shelving area. Shades like charcoal or navy provide a striking background for lighter furniture and decor. Ensure there’s sufficient lighting to avoid the area becoming too dim.
37. Use Natural Wood for Warmth
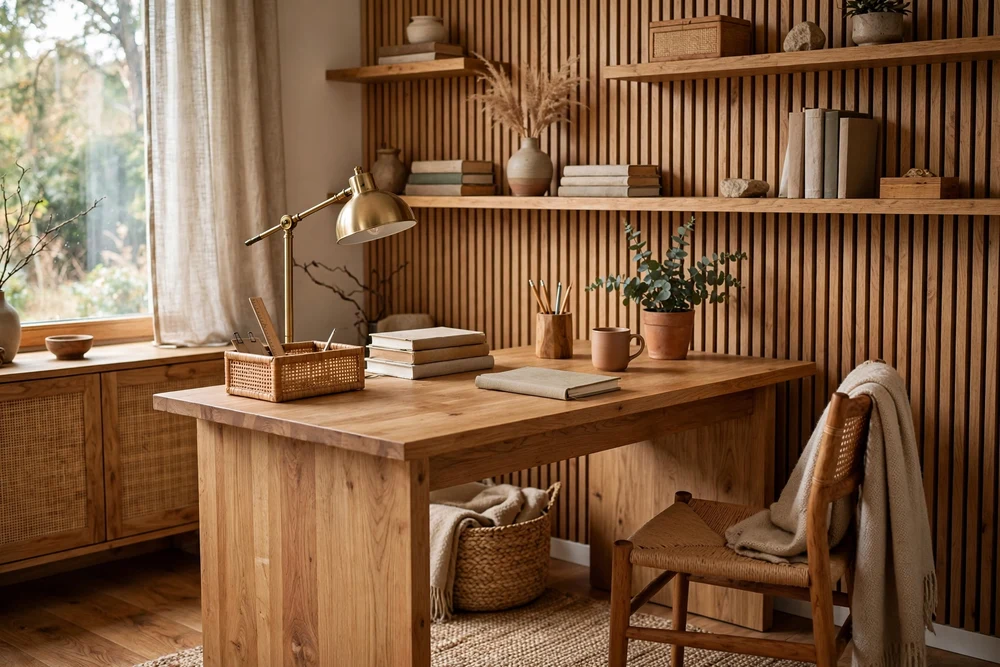
Incorporate natural wood tones for warmth and texture. Whether through furniture or shelving, wood adds visual interest and a comforting touch. Choose lighter wall colors to complement and balance the wood’s richness.
38. Add an Area Rug
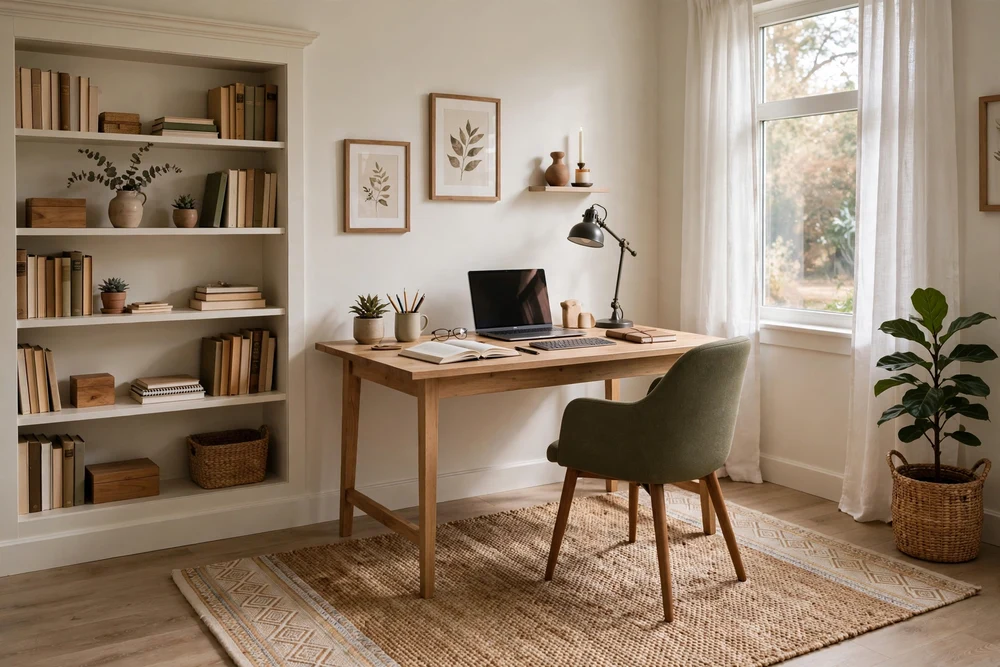
Rugs can define and soften a study area, adding acoustic comfort as well. Select a low-pile or flatweave rug that allows chair movement and anchors the workspace visually. A good rug pad can prevent slips and keep the rug in place.
39. Use Acoustic Materials
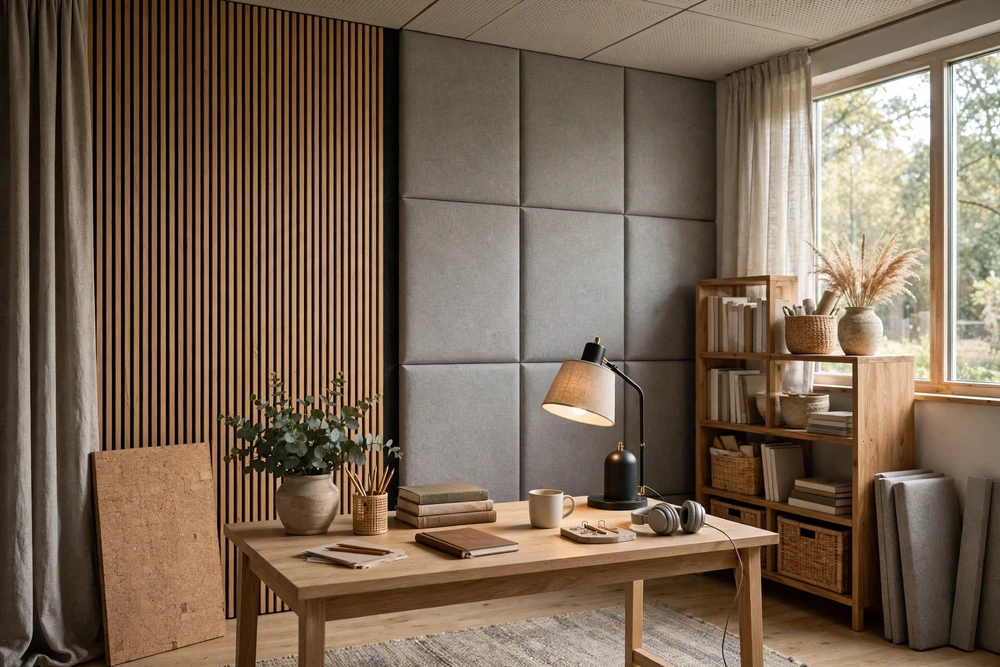
Acoustic materials reduce noise distractions, enhancing focus. Soft surfaces like fabric wall panels, thick curtains, or felt pinboards absorb sounds. Place these strategically around reflective surfaces for maximum effect.
40. Create a Quiet Study Room with a Door
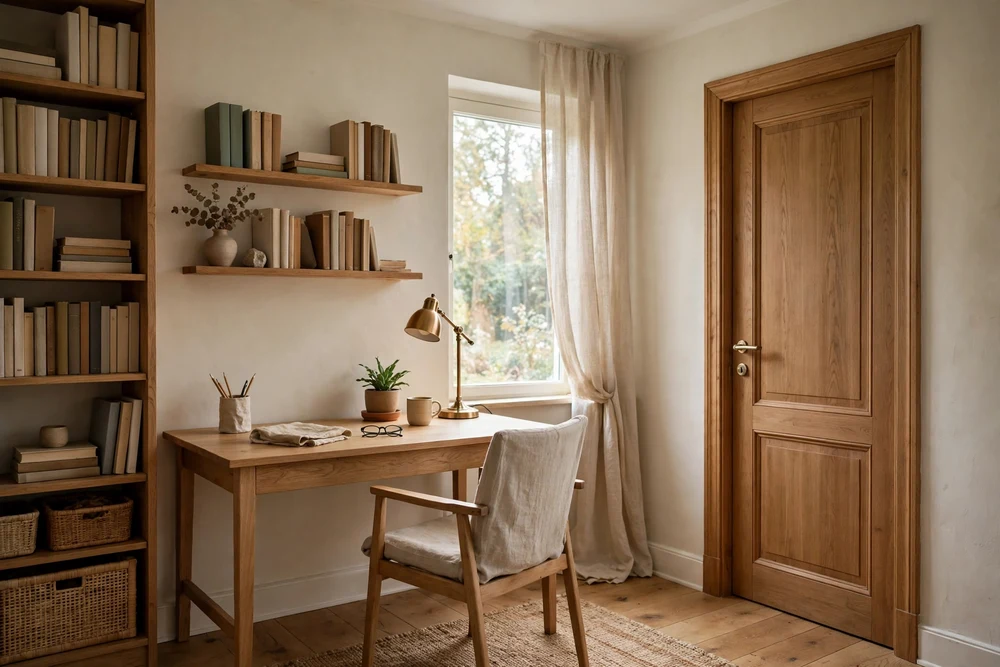
Sometimes, the best way to focus is by isolating yourself from noise. A study room with a door can provide this sanctuary. Keep the design simple and prioritize ventilation to ensure a comfortable environment for extended periods.
Conclusion
However small or big your space may be, you can transform it into a conducive study room with these inventive ideas. From maximizing light and ergonomics to harmonizing aesthetics and functionality, creating an inviting study space is within reach. With thought-out elements and smart design choices, your study room can become a favorite spot for productivity and comfort.
